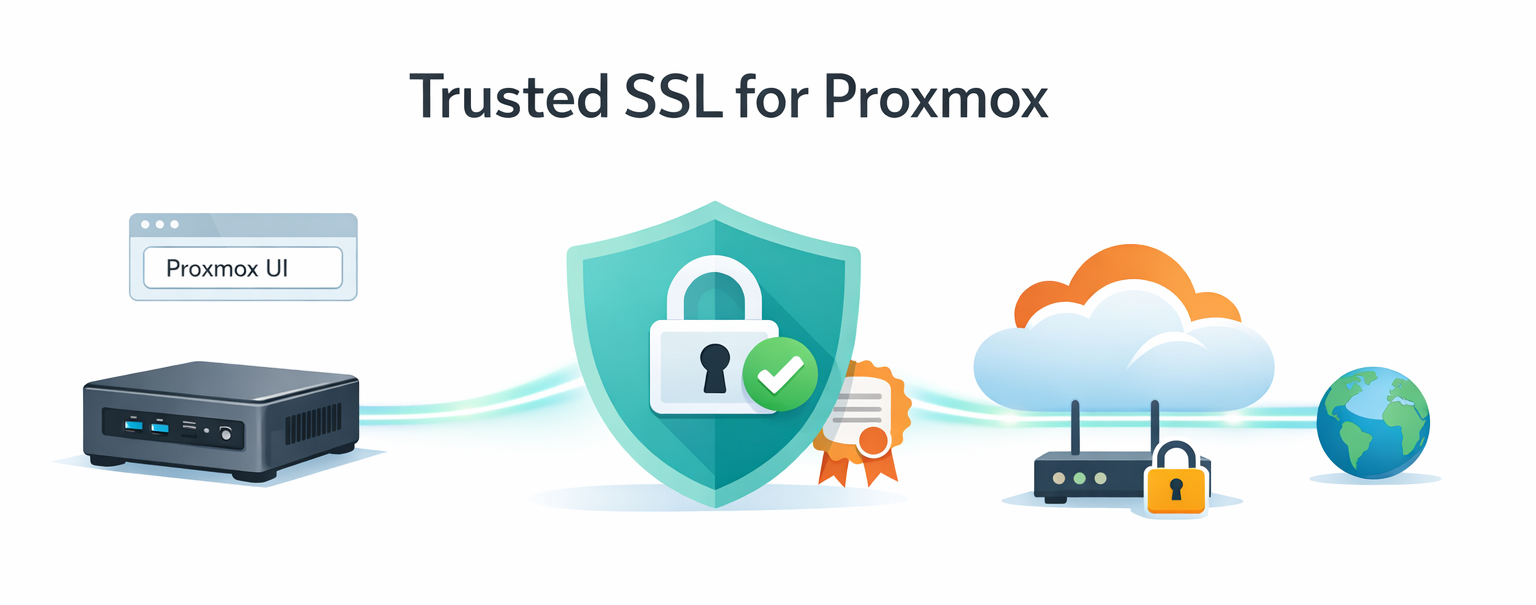
I recently reinstalled Proxmox on my Intel NUC and wanted two things:
- A real, browser-trusted SSL certificate for the web UI (no more self-signed warnings).
- Remote access from anywhere, without forwarding any ports on my home firewall.
Both are doable with Cloudflare (I had my domain there). The first uses Let’s Encrypt with a DNS-01 challenge through Cloudflare’s API. The second uses Cloudflare Tunnel, which creates an outbound-only connection to Cloudflare’s network. Your router stays completely closed.
Here’s the full walkthrough. Takes about 30 minutes if you already have a domain on Cloudflare.
What you need before starting
- Proxmox installed on a host with internet access
- A domain managed by Cloudflare (free plan is fine)
- Network access to your Proxmox host (LAN IP and port 8006)
That’s it.
Part 1 – Get a real SSL certificate
Proxmox has built-in ACME support (the protocol Let’s Encrypt uses) and supports DNS challenges out of the box. The DNS challenge is what we want. It works even when your Proxmox host isn’t reachable from the internet.
Step 1: Create a Cloudflare API token
In the Cloudflare dashboard, go to Manage Account → Account API Tokens → Create Token.
Pick the “Custom token” option (or the new permission policy editor). You need exactly two permissions, scoped to one specific zone (your domain, not the entire account):
- Zone: Read
- DNS: Edit
Limiting to one zone follows least-privilege. If the token ever leaks, only that one domain is at risk.
Save the token. Cloudflare only shows it once, so drop it in your password manager.
Step 2: Register an ACME account in Proxmox
In the Proxmox web UI:
Datacenter → ACME → Accounts → Add
- Account Name:
default - Email: your email
- ACME Directory:
Let's Encrypt V2 - Accept TOS → Register
If this fails with Temporary failure in name resolution, your Proxmox host can’t reach the internet via DNS. Check Node → System → DNS and add 1.1.1.1 and 8.8.8.8 as fallbacks alongside your local resolver.
Step 3: Add the Cloudflare DNS plugin
Datacenter → ACME → Challenge Plugins → Add
- Plugin ID:
cloudflare - DNS API:
Cloudflare Managed DNS - API Data:
CF_Token=<paste-your-token-here>
Just one line. Don’t fill in CF_Account_ID, CF_Email, CF_Key, or CF_Zone_ID. For a zone-scoped token, the plugin figures all of that out automatically.
Step 4: Order the certificate
Click your node in the sidebar, then System → Certificates → ACME.
- For “Using Account”, select the account from Step 2
- Click Add to add a domain:
- Challenge Type:
DNS - Plugin:
cloudflare - Domain:
pve.yourdomain.com(or whatever subdomain you want)
- Challenge Type:
- Click Order Certificates Now
You’ll see a task viewer that takes about 60 to 90 seconds. It will:
- Talk to Let’s Encrypt
- Create a temporary
_acme-challengeTXT record in Cloudflare - Wait for DNS propagation
- Prove ownership
- Download the cert and restart pveproxy
When it ends with TASK OK, you have a valid Let’s Encrypt cert. Your browser will still show a warning if you access Proxmox by IP, because the cert is bound to the hostname, not the IP. That’s expected, and we’ll fix it in Part 2.
The cert auto-renews around day 60 of its 90-day lifespan. No further action needed.
Part 2 – Cloudflare Tunnel for remote access
A tunnel is an outbound connection from your network to Cloudflare’s edge. When someone visits pve.yourdomain.com, Cloudflare routes that traffic through the tunnel to your Proxmox host. Nothing inbound. Your firewall stays closed.
Step 5: Create a Debian LXC for cloudflared
Best practice is to keep services off the Proxmox hypervisor itself. A small Debian LXC is the right home for cloudflared.
First, download the template. Click your local storage in the sidebar, then go to CT Templates → Templates, search for debian-13-standard, and click Download.
Then click Create CT (top right of the Proxmox UI):
- General: hostname
cloudflared, set a root password, leave Unprivileged checked - Template: pick the Debian 13 template you just downloaded
- Disks: 8 GiB on
local-lvm(default) - CPU: 1 core
- Memory: 512 MiB RAM, 512 MiB swap
- Network: Bridge
vmbr0, IPv4 set to DHCP, IPv6 DHCP or None - DNS: leave defaults
- Confirm: check “Start after created” → Finish
About 10 seconds later, you’ll have a running LXC.
Step 6: Create the tunnel in Cloudflare
Open the Cloudflare Zero Trust dashboard and go to Networks → Tunnels → Create a tunnel.
- Connector type: Cloudflared
- Tunnel name:
pve-tunnel(or whatever) - Save
You’ll land on the “Install and run a connector” page. Pick Debian and 64-bit. You’ll see install commands that include a long token at the end. Keep this tab open, we’ll use the commands in the next step. Don’t share this token with anyone. It’s effectively root credentials for the tunnel.
Step 7: Install cloudflared in the LXC
Click your new cloudflared LXC in the Proxmox sidebar and open Console. Login as root.
Debian’s standard template doesn’t include curl by default, so install it first:
apt-get update && apt-get install -y curl
Now install cloudflared (note: I dropped sudo since you’re already root):
mkdir -p --mode=0755 /usr/share/keyringscurl -fsSL https://pkg.cloudflare.com/cloudflare-public-v2.gpg | tee /usr/share/keyrings/cloudflare-public-v2.gpg >/dev/nullecho 'deb [signed-by=/usr/share/keyrings/cloudflare-public-v2.gpg] https://pkg.cloudflare.com/cloudflared any main' | tee /etc/apt/sources.list.d/cloudflared.listapt-get update && apt-get install -y cloudflared
Verify the install:
cloudflared --version
Then run the service install command from the Cloudflare tab (the one with your token). Drop the sudo from the front:
cloudflared service install eyJhIjoi...<your-token>...
This installs cloudflared as a systemd service, starts it, and enables it on boot.
Confirm it’s running and connected:
systemctl status cloudflared
Look for active (running) and several Registered tunnel connection log lines. Cloudflared opens four redundant connections to Cloudflare’s edge.
Switch back to the Cloudflare browser tab and scroll to the Connectors section at the bottom. Within 30 seconds, your connector should show up with a green healthy status. Click Next.
Step 8: Route the tunnel to Proxmox
You’re now on the Public Hostname configuration:
| Field | Value |
|---|---|
| Subdomain | pve |
| Domain | yourdomain.com |
| Path | (empty) |
| Service Type | HTTPS |
| URL | <your-proxmox-LAN-IP>:8006 |
Click Additional application settings → TLS and set:
- Origin Server Name:
pve.yourdomain.com - Leave everything else default (No TLS Verify OFF, HTTP2 OFF, Match SNI to Host OFF)
The Origin Server Name setting tells cloudflared to send the right SNI when connecting to Proxmox. Proxmox responds with the cert that matches that hostname, and TLS verification passes cleanly. End-to-end encryption with proper validation, no --no-verify shortcuts.
Click Save. Cloudflare automatically creates the CNAME record pointing pve.yourdomain.com to your tunnel.
Step 9: Test it
Open a new browser tab and go to https://pve.yourdomain.com.
You should see:
- A valid green padlock
- Proxmox’s login page
- No certificate warnings, anywhere
Login with your Proxmox credentials. You’re done.
Bonus: split-horizon DNS for fast local access
When you’re at home, going Mac → Cloudflare → back to your house adds latency. The fix is split-horizon DNS. Your local resolver returns the LAN IP for pve.yourdomain.com, while public DNS keeps pointing to Cloudflare.
If you run OPNsense, pfSense, AdGuard Home, Pi-hole, or similar, add a host override:
- Hostname:
pve - Domain:
yourdomain.com - IP: your Proxmox LAN IP
Or, for a single Mac, just edit /etc/hosts:
sudo nano /etc/hosts
Add:
192.168.x.x pve.yourdomain.com
Save. Now pve.yourdomain.com resolves to your LAN IP locally, but to Cloudflare from outside. Same valid cert either way, since it’s bound to the hostname.
A couple of things to keep in mind
- The
:8006port is only needed on the LAN. When you’re at home and going direct to your Proxmox host, the URL ishttps://pve.yourdomain.com:8006. From outside, you just usehttps://pve.yourdomain.com. Cloudflare Tunnel handles the port mapping for you (the public hostname rule we set up points to<LAN-IP>:8006internally). - The
/etc/hoststrick only works at home. If you hardcodepve.yourdomain.com → 192.168.x.xin your laptop’s hosts file and then take the laptop to a coffee shop or on a trip, it’ll fail to connect because that LAN IP isn’t reachable from outside your house. If you travel often, either skip the hosts file approach (just accept the small Cloudflare round-trip latency at home), or put the override on your home router/resolver instead so it only applies when your laptop is connected to your home network.
Why this setup is good
- No open ports. Your firewall stays closed. The tunnel is outbound-only.
- Real SSL everywhere. End-to-end TLS with a trusted cert, valid on LAN and over the internet.
- Auto-renewing certs. Proxmox handles the 90-day rotation via Let’s Encrypt.
- Clean separation. cloudflared runs in its own LXC, not on the hypervisor.
- Optionally upgradeable. Add Cloudflare Access in front for SSO/MFA on top of Proxmox’s own login. Zero Trust without changing Proxmox itself.
Things to remember
- The Cloudflare API token and the tunnel token are sensitive. Treat them like passwords. If either ever appears in a screenshot, log, or shared chat, rotate it immediately (Cloudflare dashboard → roll the token / refresh the tunnel token).
- If you rebuild the LXC, you’ll need to run
cloudflared service install <token>again with a fresh token. - The cert auto-renews, but it’s worth checking once a year that it’s still rotating cleanly.
That’s the whole flow. Real cert, no open ports, fast LAN access, and remote access from anywhere your domain resolves. If you’re running other services on the same Proxmox box (Home Assistant, Jellyfin, dashboards, and so on) you can route them through the same tunnel. Just add more public hostnames pointing to their internal URLs.
